
Photo editing guide
How to Change a Photo Background with AI
Table of Contents
To change a photo background with AI, upload a clear photo, describe the new setting and the details you want to keep, then generate and check the result. In ImgtoImg, you can continue editing a generated version before downloading it.
AI may also change faces, lettering, or object details. This guide covers changing a background from a text description in ImgtoImg.
Choose the Right Method for Your Background Change
| What you have or need | Start with |
|---|---|
| One photo and an idea for a new setting | Text-guided image editing |
| A subject photo and a background reference image | Use a background reference image. Describe what each source contributes. |
| A face, label, or product that must remain unchanged | A compositing editor that lets you retain the original subject on a separate layer |
To preserve the subject, keep it on a separate layer and use a layer mask to hide the old background. Do not regenerate or retouch the subject layer. You may need to clean up the selection and adjust the lighting. Resizing, color adjustments, and edge cleanup can still affect the final image.
How to Change Your Photo Background in 3 Steps
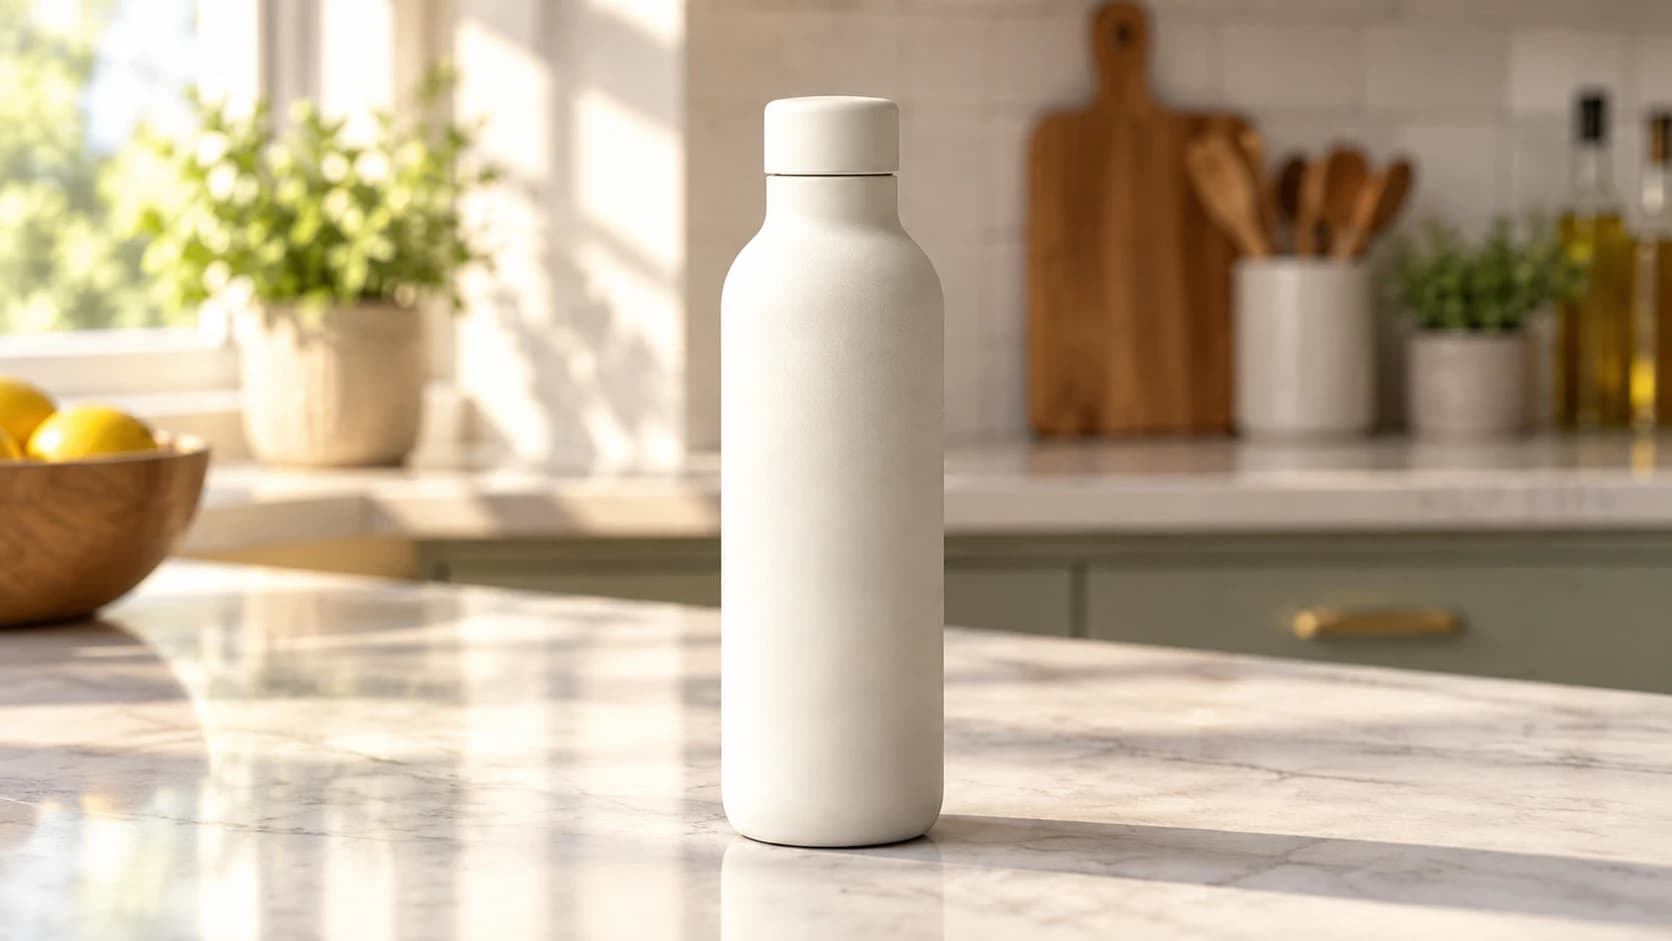
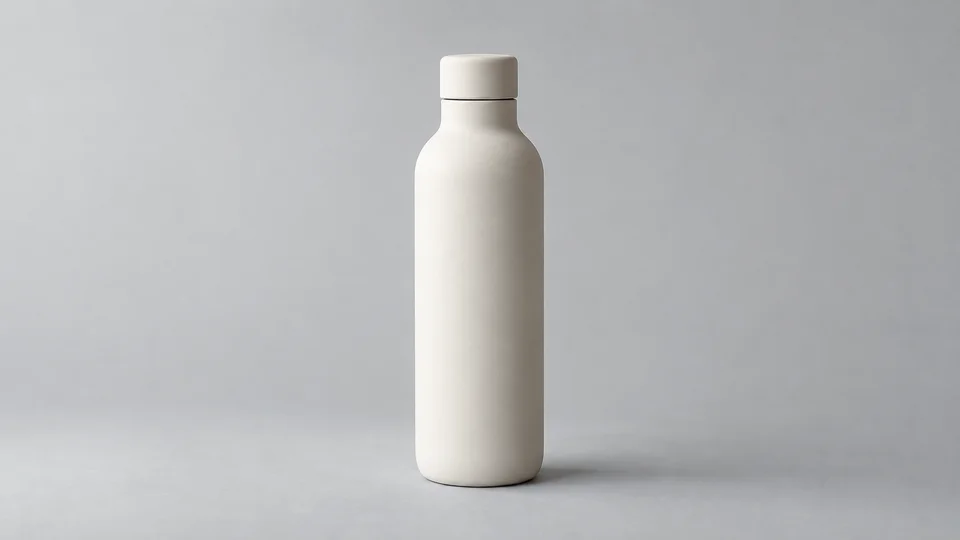
We used ImgtoImg to place the ivory bottle below on a sunlit kitchen counter. The first result came from one generation request. We then tested one follow-up edit, shown in the result-checking section below. The source image comes from ImgtoImg’s product-background example.
1. Sign In and Upload a Clear Photo
Open the image editor, select Image to Image, and sign in. Upload one JPG, PNG, or WebP image you have permission to upload, process, and use. Choose a sharp photo with a visible subject and clear edges.
Generation sends reference images and prompts to external services. External providers may retain data or use it to improve their models. ImgtoImg does not guarantee otherwise. See the Privacy Policy for processing and storage details. Your permissions must cover that processing and your intended use, as described in the content rights terms.
New ImgtoImg accounts receive 6 signup credits for 1K generation. Uploading alone uses no generation credits.
2. Describe the New Background and What to Keep
Describe the new setting and lighting. Say which subject details to keep. Here is the prompt we entered:
Replace the gray background with a sunlit kitchen counter. Place the bottle on the counter with a softly blurred kitchen behind it. Keep the bottle’s ivory color, shape, cap, and proportions. Match the window light and add a natural contact shadow beneath the bottle. Keep one bottle in the image.
Both prompts in this guide show the text we entered. ImgtoImg adds generation instructions and, for the follow-up edit, guidance for the Subtle setting.
Open Aspect Ratio and select a ratio that matches your source image. Use 16:9 for a 960 × 540 photo, 1:1 for a square photo, or 3:2 for a 1500 × 1000 photo. New sessions default to Auto. If you reopen a session, it may keep your previous ratio. A matching ratio does not guarantee the same dimensions or composition.
Choose a model. Start with 1K and one output, check the displayed credit cost, then click Generate image. Save your prompt and settings for comparison. See generation costs and our test settings below.
3. Review, Refine, and Download
Compare the result with your original. Check the subject, edges, lighting, and shadows using the checks below. If the subject is usable but the scene needs work, select Edit this version and request a focused change. To edit without marking an area, choose Whole Image and describe the change. Subtle asks the model to make smaller changes. It does not lock the subject. Each successful follow-up edit produces one new image.
Original image
Generated result
These are the source image and the original model output, compressed to WebP for this page. We did not retouch or redraw them. The article shows the stored output without ImgtoImg’s preview watermark.
Download as PNG, JPG, or WebP when the result meets your needs. Free-account downloads include ImgtoImg’s preview watermark. With valid paid access and enough credits, you can generate at 2K or 4K and download without that preview watermark. Higher resolution does not guarantee more accurate details. Compare credit packs and output options if needed.
To use an output commercially, you need valid paid access when you submit the image request. You also need the rights required for your inputs and intended use. Buying a pack later does not automatically authorize earlier images. A watermark-free download alone does not confirm commercial-use eligibility. Review the image rights and commercial-use terms before using an output commercially.
A PNG file is not automatically transparent: the format supports images with or without transparency. An opaque white background is not transparency. ImgtoImg exports raster images, not PSD files or editable layers.
Generation Costs and Test Settings
Credits for Images and Edits
These are the current 1K rates for the model options in ImgtoImg. The totals assume one image and one edit at 1K with the same model.
| Model | One image | Image + one edit |
|---|---|---|
| Nano Banana 2.1 | 2 credits | 4 credits |
| GPT Image 2 / 2.5 | 3 credits | 6 credits |
Each output, edit, or variation is charged separately. Paying for two requests does not guarantee a usable result. Credits are restored for confirmed technical failures. A result you dislike does not by itself count as a technical failure. See the failed-generation rules and current credit costs.
Check the Result and Choose Your Next Step
Did the Subject Change?
Compare faces, clothing, object shape, lettering, and logos with the source. In our visual comparison, the first result’s cap seam and curved shoulders remain recognizable. The bottle appears more textured, and its highlights look different. It remains near the center with similar framing. These images show visual similarity, not pixel-level preservation of the original product.
These enlarged crops use the files shown above. They are not aligned for an exact comparison of the bottle’s shape.
If important details changed, you could try the original again and name the details to keep. We did not test this approach, and it may not prevent changes. If the product must look exactly like the original, use the layer-based method above.
Do the Edges Look Clean?
Zoom in around hair, shoulders, object outlines, and transparent parts. Look for missing detail, bright fringes, or traces of the old background. In this bottle example, inspect the cap seam and both shoulder outlines against the kitchen background, then check the bottle’s lower edge where it meets the counter. Check at the size you intend to use, too.
Describe the location and problem rather than asking only to “make it better.” Area marks are available when editing a generated result, but they guide the AI rather than masking or protecting the surrounding pixels. Review the entire new image after each edit.
Need manual edge cleanup? Adobe’s Select and Mask tutorial explains how to inspect and refine hair and soft edges in Photoshop.
Do the Lighting and Shadows Match?
Compare the direction of light on the subject with the background. Check whether their color and brightness fit, and whether an object on a surface has a plausible contact shadow. Adobe’s compositing research describes lighting, color, shadows, and boundary blending as parts of making a subject fit a new scene.
The source has a subdued gray shadow beside the base. The first generated result adds a long shadow extending to the right and a reflection beneath the bottle. The bright window is on the left. Inspect the contact edge at the base as well as the longer shadow. In this result, the change also affected the bottle’s lighting and the surface beneath it.
What One Follow-up Edit Changed
We selected Edit this version on the first kitchen result, chose Whole Image and Subtle, and entered this text in the editor:
Keep the current kitchen scene and the single ivory bottle. Soften the shadow beneath and to the right of the bottle. Keep the bottle’s shape, cap, proportions, and placement as close as possible to the current image.
The edit used GPT Image 2.5 at 1K, produced one output, and cost 3 credits on October 10, 2026. The edit interface had no aspect-ratio selector. The request used Auto; the first generation used 16:9. The new output was 1671 × 941 pixels. We made no area marks and submitted no retries.
First result · 3 credits
After one edit · 3 more credits
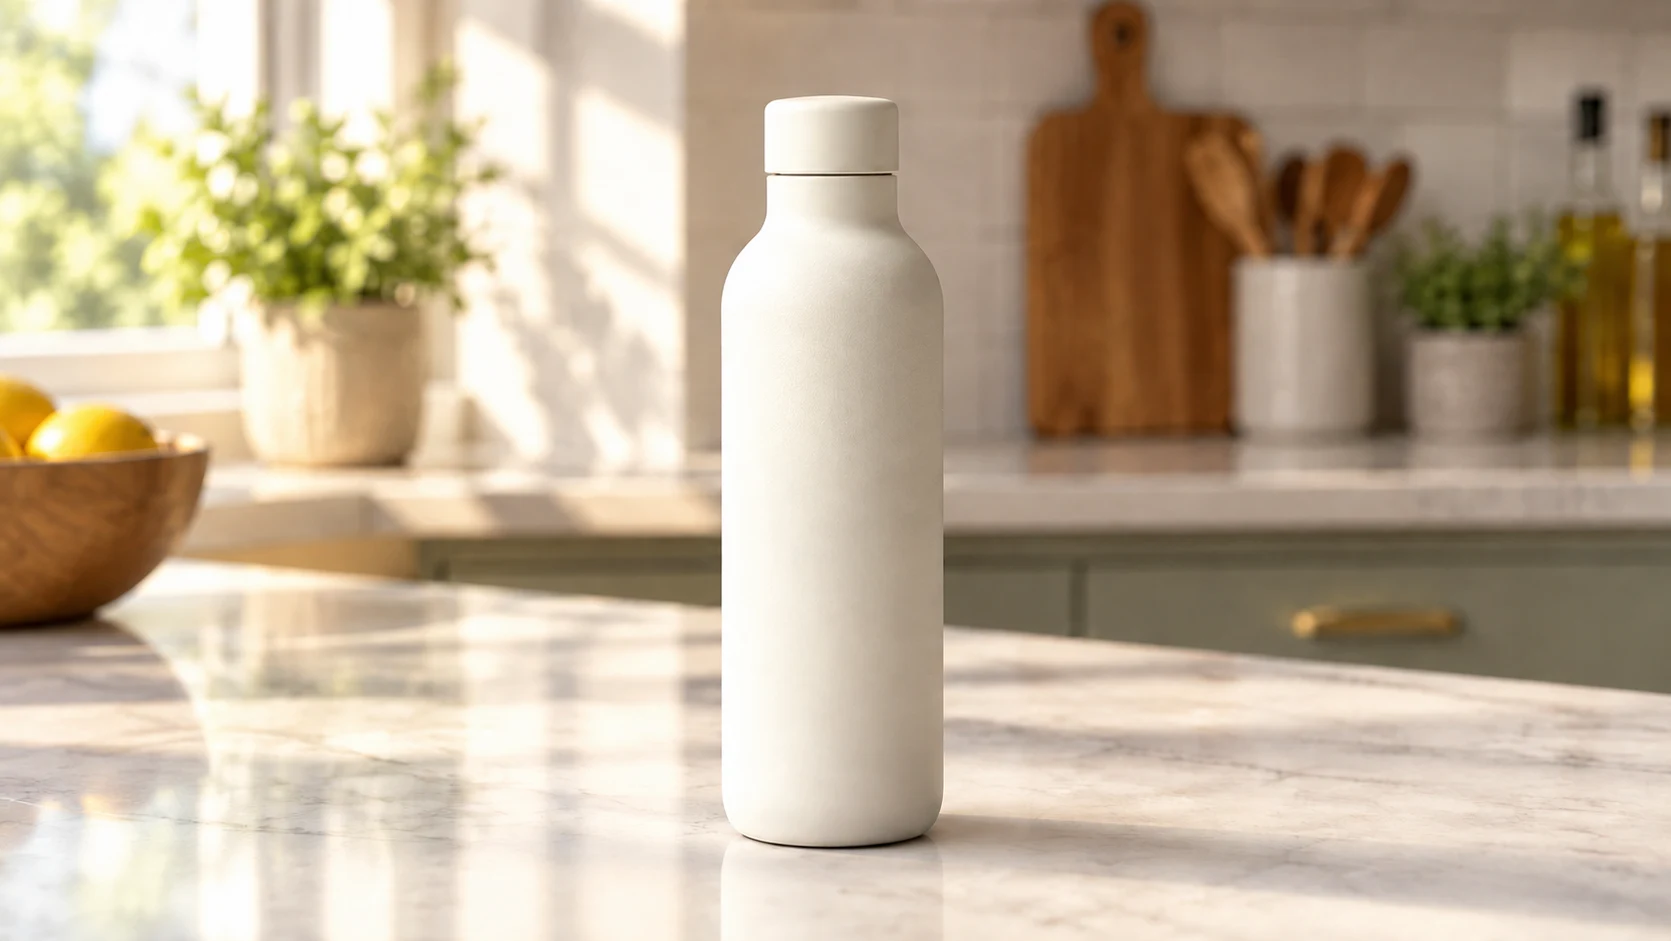
In our visual comparison, the long rightward shadow appears less defined after the edit. The cap, bottle placement, and kitchen layout remain visually similar. The counter reflections and surface detail also look softer, so the edit affected more than the shadow.
Have a photo and a background in mind? Start with one output, then compare it with your original before making another request.
Change your photo background